
Introduction
In this digital age, the ability to take screenshots on your MacBook is an invaluable skill. Whether you want to capture a funny meme, save an important document, or share a snippet of your favorite webpage, knowing How to Screenshot on MacBook is a must. In this comprehensive guide, we will walk you through the various methods and techniques to capture your screen effectively.
1. Taking a Full-Screen Screenshot
To begin with, let’s explore how to take a full-screen screenshot on your MacBook. This method is perfect for capturing everything that’s currently displayed on your screen.
- Press
Shift + Command + 3simultaneously. - You will hear a camera shutter sound, and the screenshot will be saved to your desktop.
Taking full-screen screenshots is quick and easy, making it ideal for capturing entire webpages, presentations, or anything else that’s displayed on your screen.
2. Capturing a Selected Area
Sometimes, you might want to capture only a specific portion of your screen. Here’s how to do it:
- Press
Shift + Command + 4. - Your cursor will turn into a crosshair.
- Click and drag to select the area you want to capture.
- Release the mouse button, and the screenshot will be saved on your desktop.
This method allows for precision and is great for highlighting specific content within an application or webpage.
3. Taking a Screenshot of a Window
If you need to capture a specific window, such as an application or a browser window, follow these steps:
- Press
Shift + Command + 4followed by theSpacebar. - Your cursor will change to a camera icon.
- Click on the window you want to capture.
This method ensures that only the selected window is included in the screenshot, eliminating the need for cropping.
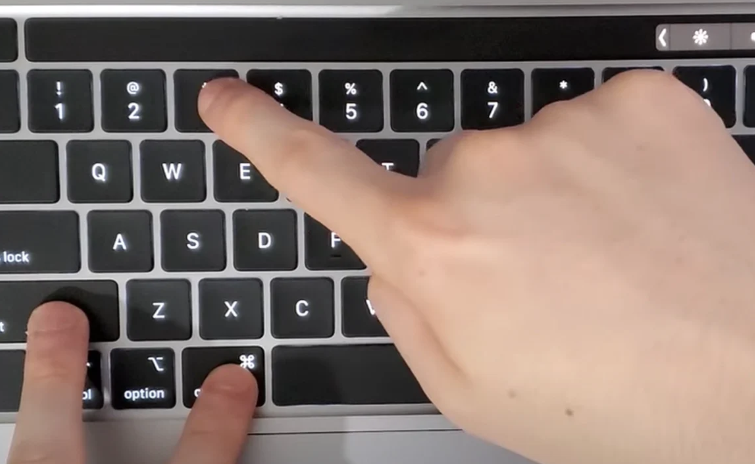
4. Using the Touch Bar for Screenshots
If you have a MacBook Pro with a Touch Bar, you can take screenshots even more conveniently:
- Press
Shift + Command + 6to capture the entire Touch Bar. - The screenshot will be saved to your desktop.
This feature is exclusive to MacBook Pro models with the Touch Bar and provides a hassle-free way to capture the Touch Bar’s contents.
5. Screenshot Shortcuts
To further streamline your screenshot process, here are some handy shortcuts:
Shift + Command + 5: Opens the screenshot toolbar, allowing you to choose capture options.Control + Shift + Command + 3: Takes a screenshot and copies it to the clipboard.Control + Shift + Command + 4: Captures a selected area and copies it to the clipboard.
These shortcuts save your screenshots directly to your clipboard, making it easy to paste them into documents or image editing software.
6. Saving Screenshots to a Different Location
By default, screenshots are saved to your desktop. If you prefer to save them elsewhere, you can change the save location:
- Open Terminal from the Applications > Utilities folder.
- Enter the command
defaults write com.apple.screencapture locationfollowed by the path where you want to save your screenshots. - Press
Enter.
Now, your screenshots will be saved to the specified location.
FAQs
Q: How do I take a screenshot of the entire webpage in Safari?
A: To capture an entire webpage in Safari, press Shift + Command + 4 followed by the Spacebar, then click on the Safari window.
Q: Can I take timed screenshots on my MacBook?
A: Yes, you can. Use Shift + Command + 5 to open the screenshot toolbar, and there you’ll find the option to set a timer before capturing.
Q: What format are the screenshots saved in?
A: Screenshots are saved in the PNG format by default, but you can change the format by going to the screenshot toolbar and selecting your preferred format.
Q: Is it possible to capture a screenshot without the camera shutter sound?
A: Unfortunately, the camera shutter sound cannot be disabled as it serves as an accessibility feature.
Q: Are there any third-party apps for taking screenshots on a MacBook?
A: Yes, there are several third-party screenshot apps available on the App Store, offering additional features and customization options.
Q: Can I annotate my screenshots on a MacBook?
A: Yes, you can use the built-in Preview app to annotate and edit your screenshots.
Conclusion
Mastering the art of taking screenshots on your MacBook is a valuable skill that can greatly enhance your productivity and creativity. With the various methods and shortcuts discussed in this guide, you can easily capture and share the content that matters most to you. So go ahead, start screenshotting, and make the most out of your MacBook!