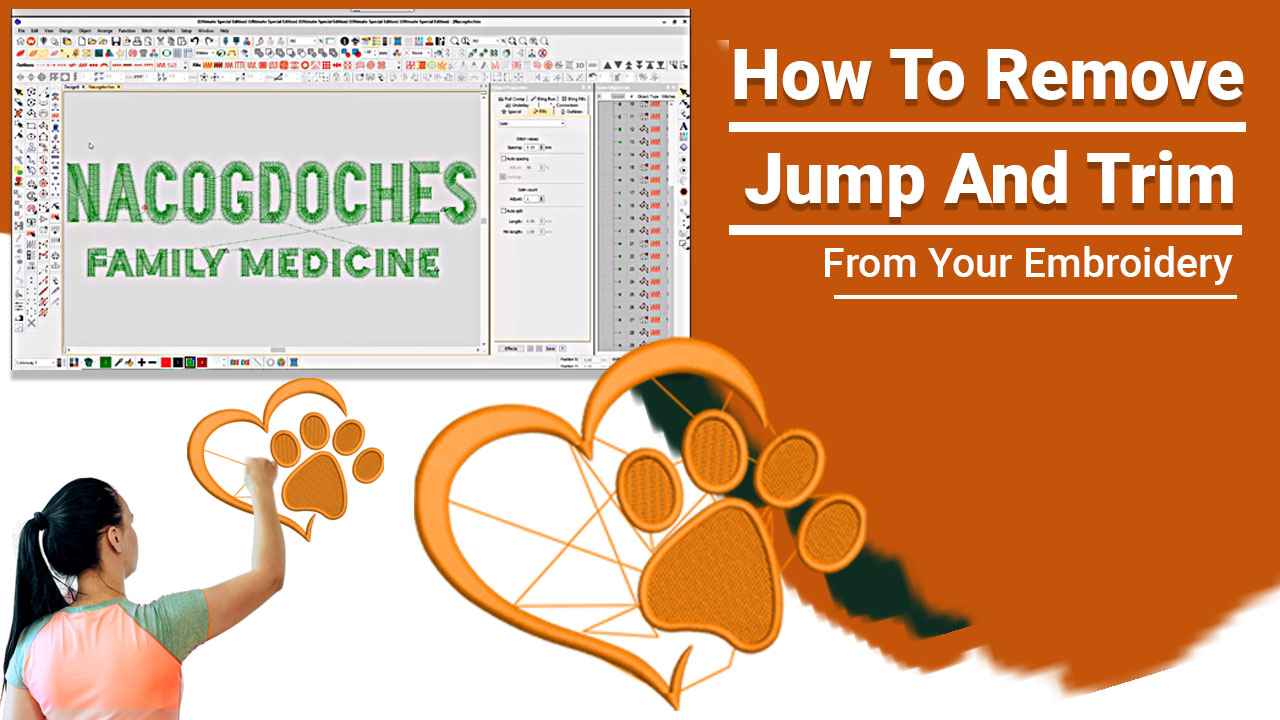
Embroidery digitizing has transformed the art of creating intricate designs on fabrics, making it more accessible and efficient than ever before. However, one common challenge that embroiderers face is dealing with “jumps” and “trims” in their embroidery work. These unwanted threads can affect the quality and appearance of your zdigitizing projects. In this comprehensive guide, we will explore two amazing ways to remove jump and trim from your embroidery, ensuring your designs are as polished as possible. Additionally, we’ll discuss how using the best embroidery software can make this process even more manageable.
Understanding Jump Stitches and Trims
Before we dive into the methods to remove jumps and trims, let’s clarify what these terms mean in the world of embroidery digitizing.
Jump Stitches
Jump stitches, also known as “thread jumps” or “travel stitches,” are segments of thread that move from one area of an embroidery digitizing design to another without creating a visible stitch. They are used to bridge gaps in the design but can be unsightly if not handled correctly.
Trims
Trims, as the name suggests, refer to the cutting or trimming of thread between different elements or sections of an embroidery design. Trimming is necessary to prevent long threads from showing on the front or back of the fabric.
Method 1: Manual Trimming
The first method we’ll explore is manual trimming, which involves removing jump stitches and trims during or after the embroidery process. This method is more hands-on but allows for precise control.
Steps for Manual Trimming
-
During Embroidery:
- As the embroidery machine progresses, keep an eye on the display or pattern.
- When you notice a jump stitch or trim, pause the machine before it continues.
- Use embroidery scissors or snips to carefully trim the excess thread.
- Resume the embroidery process.
-
After Embroidery:
- After the embroidery is complete, inspect the design for any remaining jump stitches or trims.
- Use embroidery scissors to trim them carefully.
- Ensure that you trim the threads close to the fabric without cutting the fabric itself.
Pros of Manual Trimming
- Precision: Manual trimming allows for precise removal of jump stitches and trims, ensuring a clean and polished appearance.
- Real-Time Control: You can address issues as they arise during the embroidery process, minimizing the need for post-production trimming.
Cons of Manual Trimming
- Time-Consuming: Manual trimming can be time-consuming, especially for intricate designs with numerous jumps and trims.
- Skill Required: It requires skill and attention to detail to ensure you don’t accidentally cut the fabric or other stitches.
Method 2: Using Embroidery Software
The second method involves using the capabilities of the best embroidery software to automatically manage jump stitches and trims within your designs. Modern embroidery software often includes features that can greatly simplify this process.
Steps for Using Embroidery Software
-
Select the Design:
- Open your embroidery design in the software.
-
Access Trimming Options:
- Look for options related to jump stitches and trims. These may be found in the software’s settings or preferences menu.
-
Enable Automatic Trimming:
- Activate the automatic trimming feature. This will instruct the software to handle jump stitches and trims as it generates the embroidery file.
-
Preview and Adjust:
- Preview the design to ensure that the software has correctly identified and managed jump stitches and trims.
- If necessary, adjust the settings to fine-tune the trimming process.
-
Save and Send:
- Save the modified embroidery file with automatic trimming settings.
- Transfer the file to your embroidery machine and begin the embroidery process.
Pros of Using Embroidery Software
- Automation: This method automates the jump stitch and trim removal process, reducing the need for manual intervention.
- Efficiency: It can significantly reduce production time, especially for complex designs.
Cons of Using Embroidery Software
- Software Dependency: You must have access to embroidery software with automatic trimming features.
- Learning Curve: Understanding and configuring the software settings may require some learning.
Leveraging the Best Embroidery Software
Regardless of the method you choose, having access to the best embroidery software can streamline the jump stitch and trim removal process. Look for software that offers intuitive controls and automation options, as well as the ability to customize trimming settings to suit your specific projects.
Conclusion
In the world of embroidery digitizing, achieving clean and professional-looking designs is crucial. Jump stitches and trims, if not managed properly, can detract from the quality of your work. By employing the methods outlined in this guide, whether through manual trimming or utilizing embroidery software, you can ensure that your embroidery projects are free from unsightly thread remnants.
Experiment with both methods to determine which one best suits your needs and preferences. Remember that practice and experience will make you more adept at identifying and managing jump stitches and trims efficiently. With the right approach and tools, you can elevate your zdigitizing endeavors and produce impeccable embroidery work that stands out. Happy embroidering!

