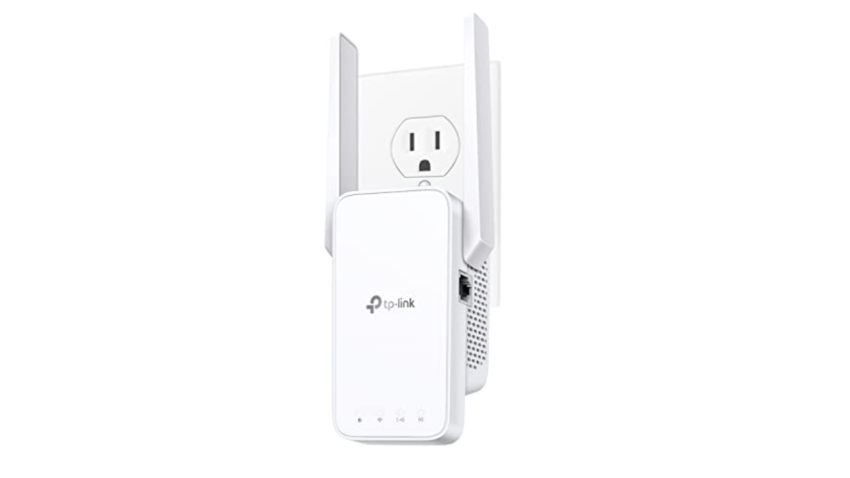
After setting up a TP Link extender in the home, many users often face issues while joining the host router’s network. Has this happened to you as well? Is it like you can connect to extender’s network but can’t access the router’s network? We will help you get connected to your router. Use the troubleshooting process presented in this post. Let us tell you that you’ll need TP Link extender login details to carry out the troubleshooting steps.
Let’s Fix the Router Network Connection Issue
A wireless extender is used to extend the network signals of the main router. The extender receives the internet from the router and rebroadcasts it further to expand the network coverage. To get this entire job executed, you’ll need to connect the extender to the main router. As soon as the extender is connected to the router, you can begin using your extender’s WiFi. You can still connect to the router’s network. You can join its WiFi network or make Ethernet connection. In case you have trouble connecting to your router’s network, use the solutions discussed below:
Reboot the Router
A glitch in the router can be responsible why you can’t access its network. Get rid of the temporary technical glitch by rebooting the router. Rebooting also gives the network connection a fresh start. Therefore, without thinking much about it, turn off the router using its Power button. Also, unplug its power cable. While the router is powered off, check the power socket and the power socket. Nothing should be damaged. After a while, plug in the router and switch it on toggling the Power button. Once the router is booted up completely, try connecting to its network.
Join the Right Network
Make very certain that you are trying to connect the right network. Check the SSID that you are trying to connect is the router’s SSID. Also, use the correct WiFi password to join the network.
Try Ethernet Connection
You can also use an Ethernet cable to join the host router’s network. If you have been trying to join the router’s WiFi then make an Ethernet connection now. In case you have already tried making an Ethernet connection, then check the condition of the cable now. It shouldn’t be damaged from anywhere. Moreover, check that the cable is not loosely inserted into the respective ports. Make a firm connection and then see if you can connect to your router’s internet or not.
Update Firmware
There are chances that the firmware on your router and extender is not updated. You are suggested to update the firmware on both devices to the most recent version. Log in to your router first and then check for its updates and get it updated. After the router is updated, log in to the extender either by using the web interface or use the TP Link app and then update its firmware. As soon as the extender and router are updated, try checking if the issue that you were struggling with has been resolved or not.
Reset the Router
If the router still fails to provide you internet connection, then reset it to the factory settings. Press the Reset button located on it with the help of a sharp and pointed object like a straightened paper clip. Hold the button for about 10 seconds and release it. The router will be reset and will have the factory settings running on it after you reset it.
Set up the Devices Again
After you’ve reset the router, you need to configure it once again. Use its default admin details and complete it installation all over again from the very beginning.
The Final Note
Now that you have TP Link extender that was connected to the router, you need to connect it again to the router. But before that, reset it as well. You need to clear the previous settings from it before you connect it once again. Reset it and then set it up once again. You will no longer have any issue while joining the router or extender’s network since you have given a fresh start to the devices.

